Exploring Windows XP on macOS ARM64
Windows XP
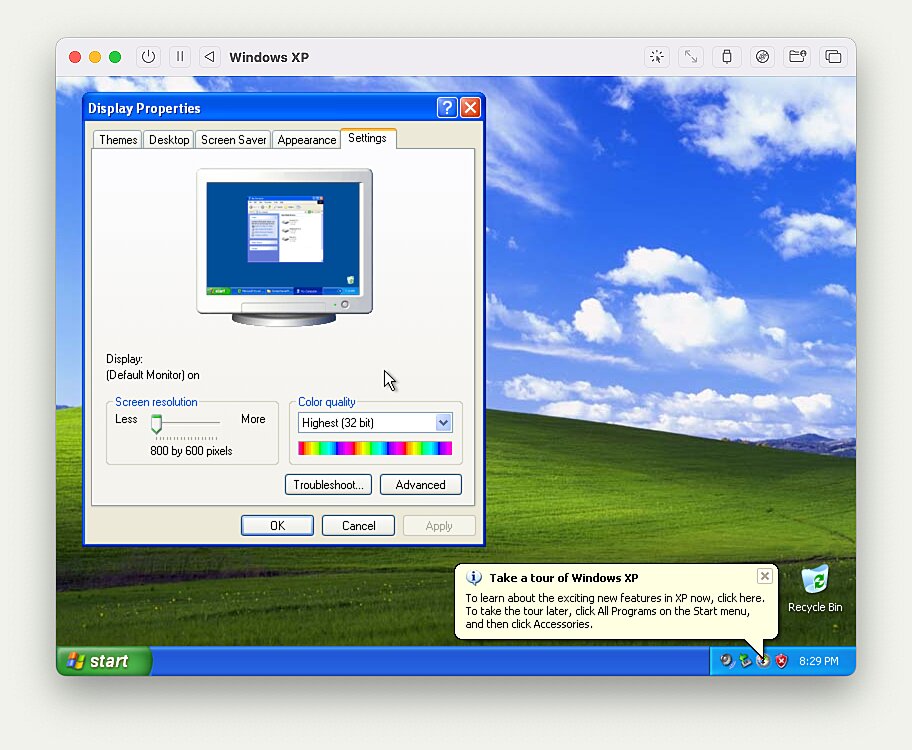
I have a lot of fond memories of Windows XP and after feeling nostalgic, I was happy to find out that it’s relatively easy to take it for a spin on an ARM64 Mac using QEMU.
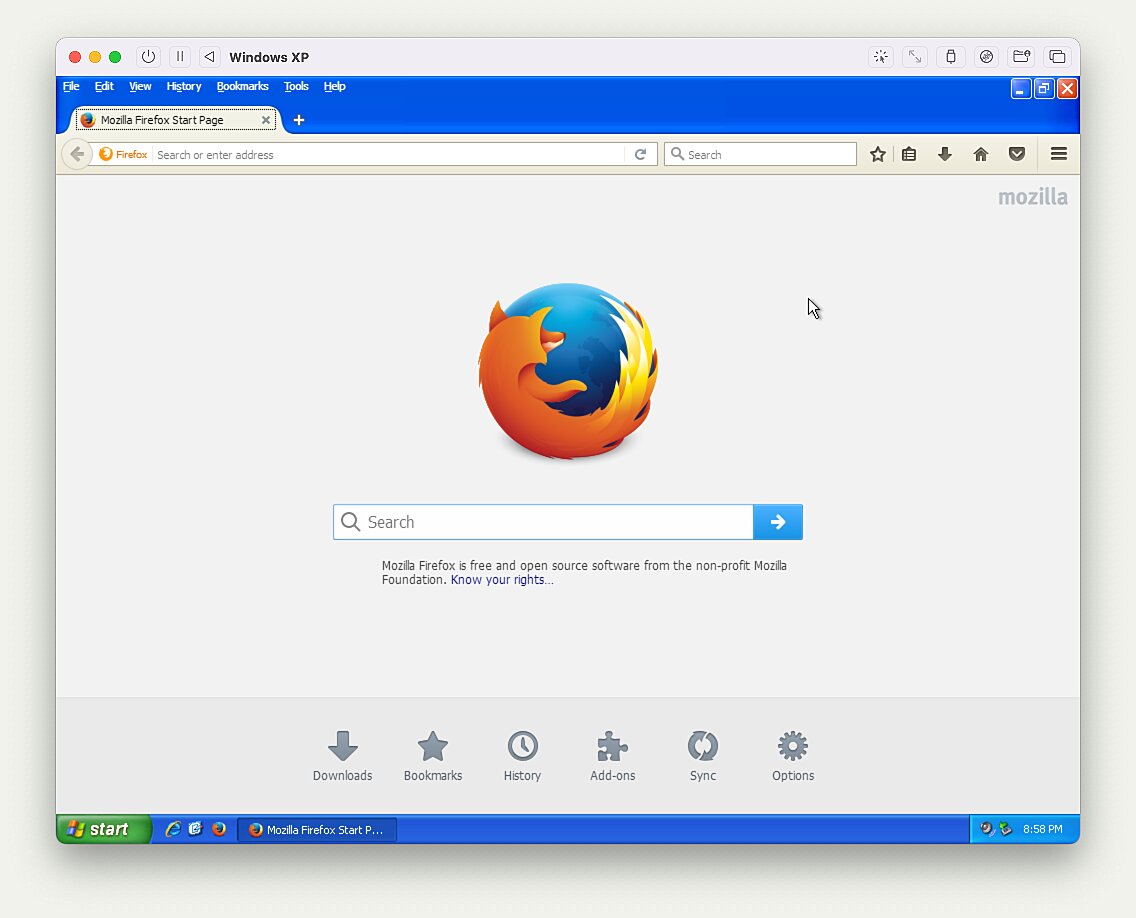
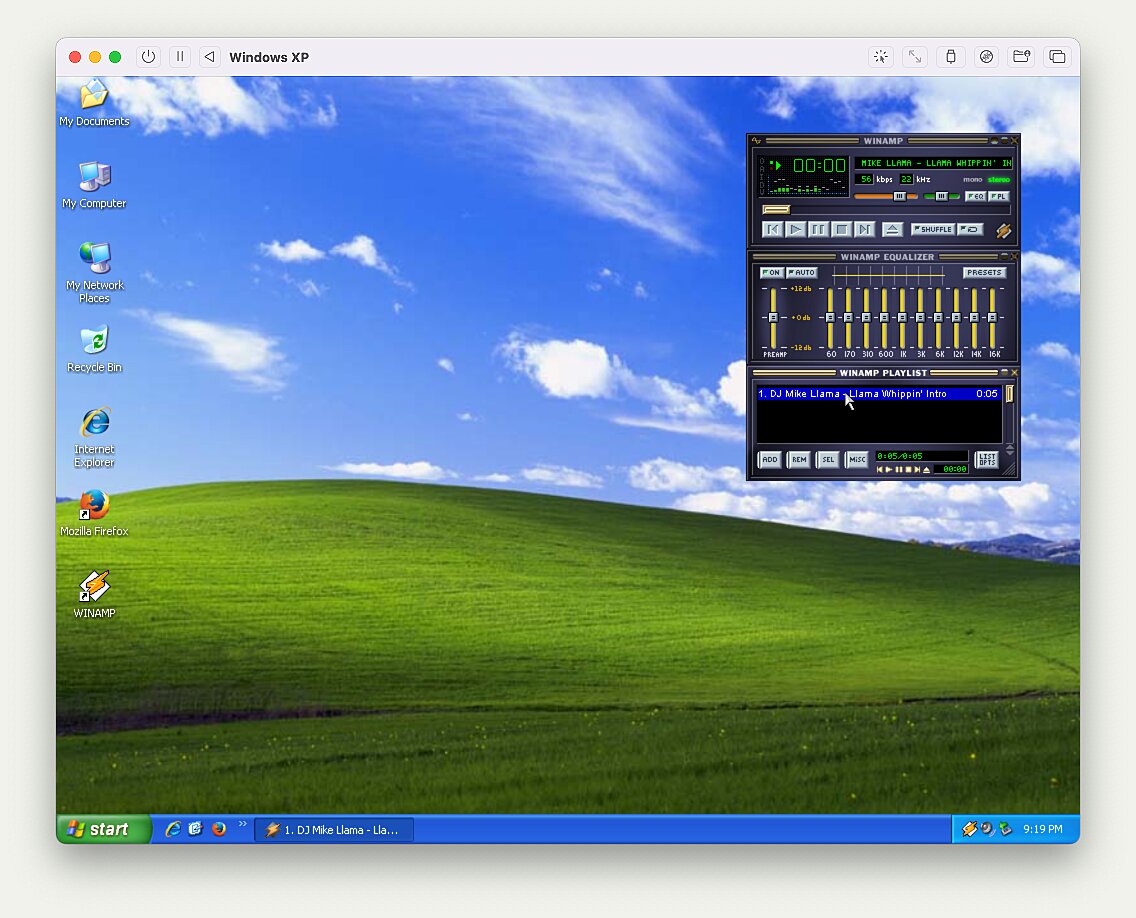
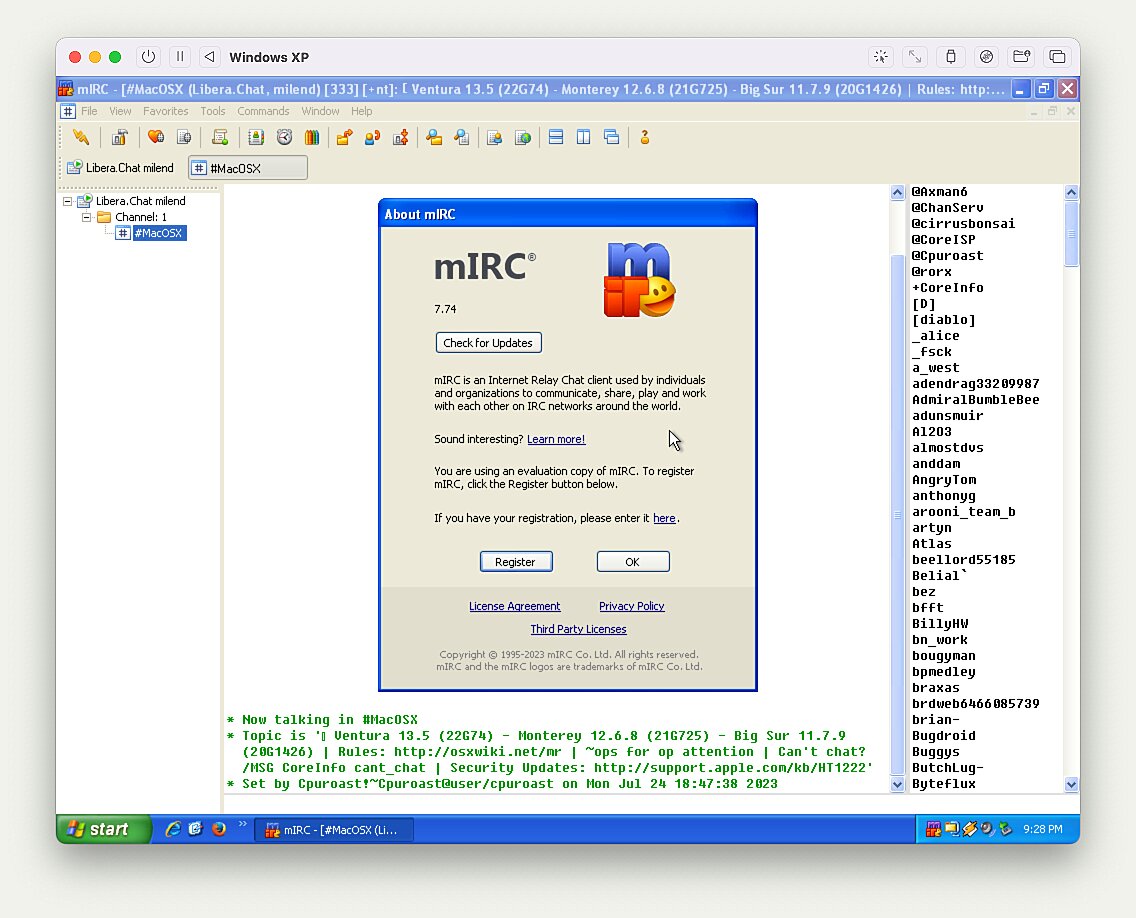
I decided to install XP and an assortment of classic software one final time, taking screenshots of the whole process. This included Firefox, Winamp, WinZip, mIRC, Borland Delphi and Visual C++ 6.0.
Sidenote: SerenityOS
If you’re feeling similarly nostalgic, definitely check out SerenityOS:
SerenityOS is a love letter to ’90s user interfaces with a custom Unix-like core. It flatters with sincerity by stealing beautiful ideas from various other systems.
The same people also started the Ladybird browser:
Ladybird is an ongoing project to build an independent web browser from scratch.
Andreas posts regular updates on YouTube which are a great way to marvel at the project’s impressive progress (e.g., SerenityOS update (July 2023)).
Installation
The instructions are based on Emulating Windows XP x86 under M1 Mac via UTM & QEMU.
- Download, install and launch UTM
- Download the Windows XP UTM template
- Extract
windows-xp-x64-utm.zip - Open the
Windows XP.utmfile - Click on the “CD/DVD” dropdown button and mount your installation CD
.iso
- Extract
- Start the VM
Installing Additional Software
I couldn’t get directory sharing to work using
SPICE tools, so instead I ended
up creating an .iso with Firefox and all additional software I needed.
- Download Firefox 52.9.0 ESR which is the latest version to run on Windows XP.
- Create a folder named
Softwarecontaining all the files you want to share. - Open Disk Utility.
- From the menu bar, go to
File → New Image → Image from Folder.... - Select the
Softwarefolder. - For the
Image Format:dropdown, selectedDVD/CD master. - Press
Save. You will now have aSoftware.cdrfile. - Create
Software.isofromSoftware.cdrin the Terminal.hdiutil makehybrid -iso -joliet -o Software.iso Software.cdr.
- Mount
Software.isoin UTM.
Gallery
Enjoy the screenshots below and check out the extensive gallery for more.